




















Opening a Restaurant: Technology and Operations Checklist
Before you open a restaurant, make sure your menu, printers, kitchen screens, staff roles and payment methods are ready. This checklist helps you test service before day one.
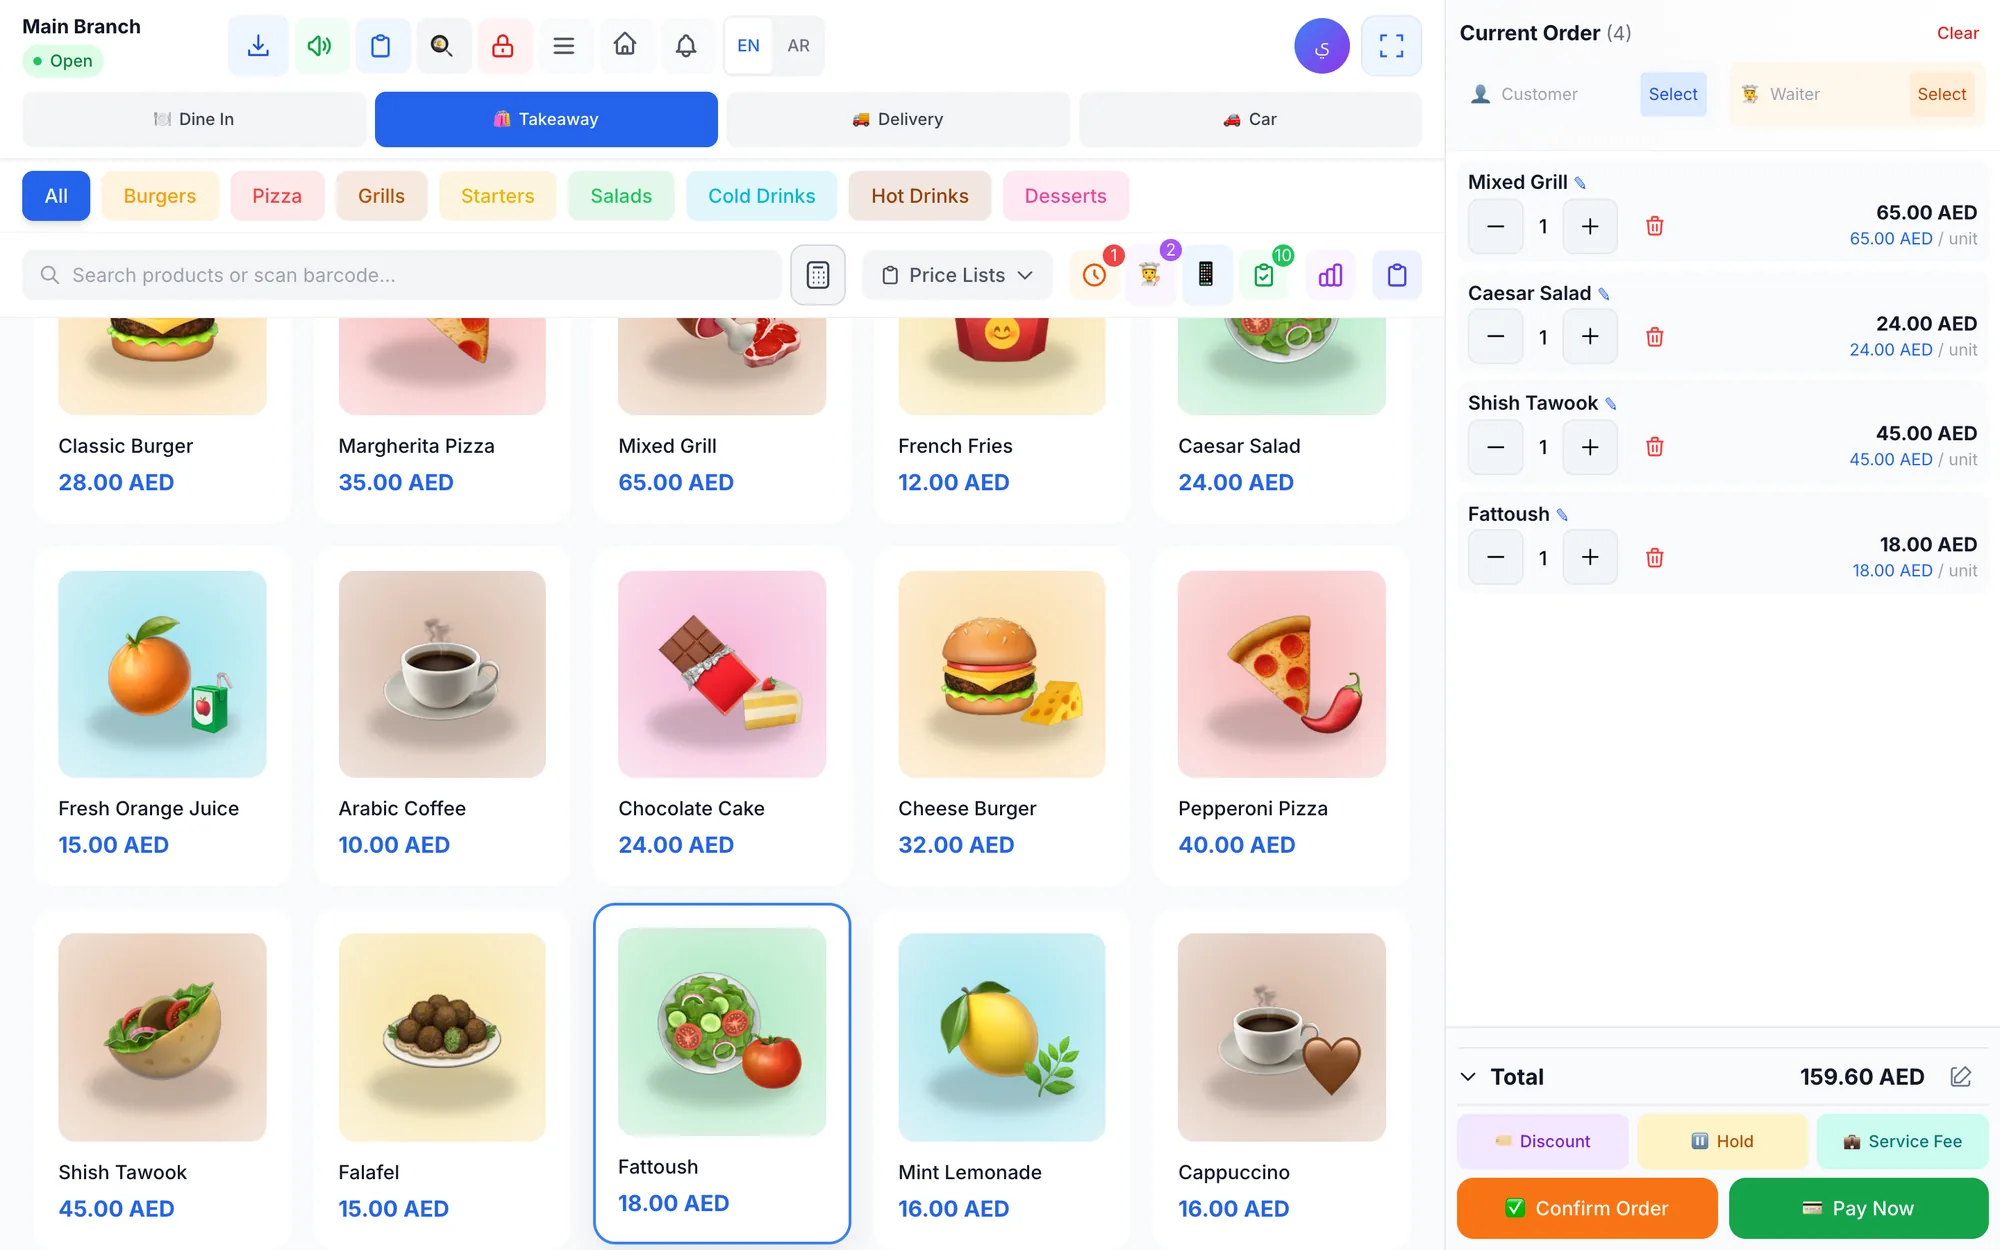
Opening a restaurant requires more than a good menu and a stocked kitchen. A practical restaurant checklist should cover your POS setup, printer routing, kitchen screens, staff roles, payment methods and a full test service before opening day so your first shifts run smoothly.
If you are about to open a restaurant, the goal is simple: remove avoidable mistakes before guests arrive. That means making sure every order reaches the right place, every staff member knows their role, and every bill can be closed without confusion.
This guide is a technology and operations checklist for owners, managers and opening teams. It is written for a café in Dubai, a family restaurant in Riyadh, a brunch spot in London, or any new venue that wants a reliable setup from day one.
Set up the menu before you set opening hours.
Test printers, kitchen screens and payment methods with real orders.
Assign roles and permissions before the first shift starts.
Run a full test service with dine-in, takeaway and delivery.
Keep a backup plan for offline selling, receipts and reporting.
1. Start with the opening-day workflow, not the hardware
The fastest way to get ready is to map the journey of one order from start to finish. A guest sits down, scans a QR code or tells a waiter their order, the kitchen receives it, the drinks printer gets the right ticket, and the cashier closes payment correctly. If you can trace that flow on paper, you can set it up in software.
Before buying or configuring anything, write down the exact service types you will offer on day one. A small restaurant may only need dine-in and takeaway, while a busier venue may also need delivery, drive-up or table ordering.
Ask these questions first:
- How will the order be taken: cashier, waiter phone, QR menu, or table service?
- Where should each item print or appear: kitchen, bar, dessert station, cashier?
- Who can discount, void, refund or open a cash shift?
- Which payment methods will you accept on the first day?
- What should happen if the internet goes down during service?
2. Build the menu in the POS before opening day
Your menu is not just a list of dishes. In a restaurant POS, it is the structure that drives sales, printing and stock control. Enter every item before opening, with clear names, correct categories and logical modifiers where needed.
For example, a café may need categories for coffee, tea, pastries and sandwiches, while a full restaurant may need starters, mains, sides, desserts and beverages. Keep names short enough for the screen and clear enough for staff under pressure.
Menu setup checklist
- Enter all dishes, drinks and add-ons.
- Group items into colour-coded categories that staff can scan quickly.
- Add item photos if they help with speed or training.
- Set item prices and make sure each branch uses the correct price list.
- Test search and barcode lookup for items that need it.
- Review special notes, modifiers and item names in both content languages if your menu is bilingual.
If you want a deeper look at how restaurant systems work, read Restaurant POS System: The Complete Guide From Order to Closing and Best Restaurant POS in 2026: 12 Things to Check Before You Buy.
3. Set up printers and kitchen screens early
Printers and kitchen screens are where many opening-day problems begin. Do not wait until the first customers arrive to discover that receipts print in the wrong place or kitchen tickets are missing item details. Configure this in advance and test it with real orders.
A strong setup usually includes a receipt printer at the counter and one or more kitchen printers or screens routed by station. Drinks can go to the bar, hot food to the kitchen, and desserts to a separate prep area if needed.
| Area | What to set up | Why it matters | When to test |
|---|---|---|---|
| Counter | Receipt printer | Guest gets the bill and proof of payment | Before staff training |
| Kitchen | KDS or kitchen printer | Orders appear fast and clearly | During every test service |
| Bar | Separate printer or screen | Drinks do not get mixed with food tickets | Before the soft opening |
| Drive-up or takeaway | Order routing rules | Staff know which tickets are for pickup | After menu setup |
If you need help with devices, see Thermal Printer Setup: Receipt and Kitchen Printers, Step by Step and Kitchen Display System (KDS): Replace Paper Tickets for Good.
4. Decide who does what: staff roles, permissions and shifts
Opening day is easier when every team member knows their job and every permission is controlled. A cashier should not need kitchen access. A waiter should take orders without changing prices. A manager should be able to review shifts, payments and exceptions.
Before the first service, create the roles you need and test sign-in for each person. If your team uses PINs, make sure each staff member can access only the screens they need. This keeps the operation clean and reduces errors when things get busy.
Practical roles to prepare
- Owner or manager for oversight, reports and sensitive actions.
- Cashier for billing, checkout and payment handling.
- Waiter for table orders, notes and guest requests.
- Kitchen staff for preparing and updating order status.
- Driver or runner if you plan to handle deliveries in-house.
Also plan the shift routine. Open the shift with a cash count, make sure the drawer amount is correct, and close it the same way at the end of service. If you are building a tighter control process, the article Cash and Shift Management: Close the Day Without Shortages is worth reviewing.
5. Choose payment methods and bill rules before the first guest arrives
Guests will ask how they can pay, and the answer should already be set. Decide which payment methods you will accept on opening day and how mixed payments should work if one bill is split between cash, card and bank transfer.
Test common situations: one guest paying the full bill, a table splitting the bill, a partial payment on a larger tab, and change due on a cash transaction. You should also decide who can apply manual discounts and whether there is a branch limit for those discounts.
It is better to rehearse these cases with staff than to improvise under pressure. A smooth checkout builds confidence for guests and keeps the queue moving.
6. Prepare the QR menu and table service flow
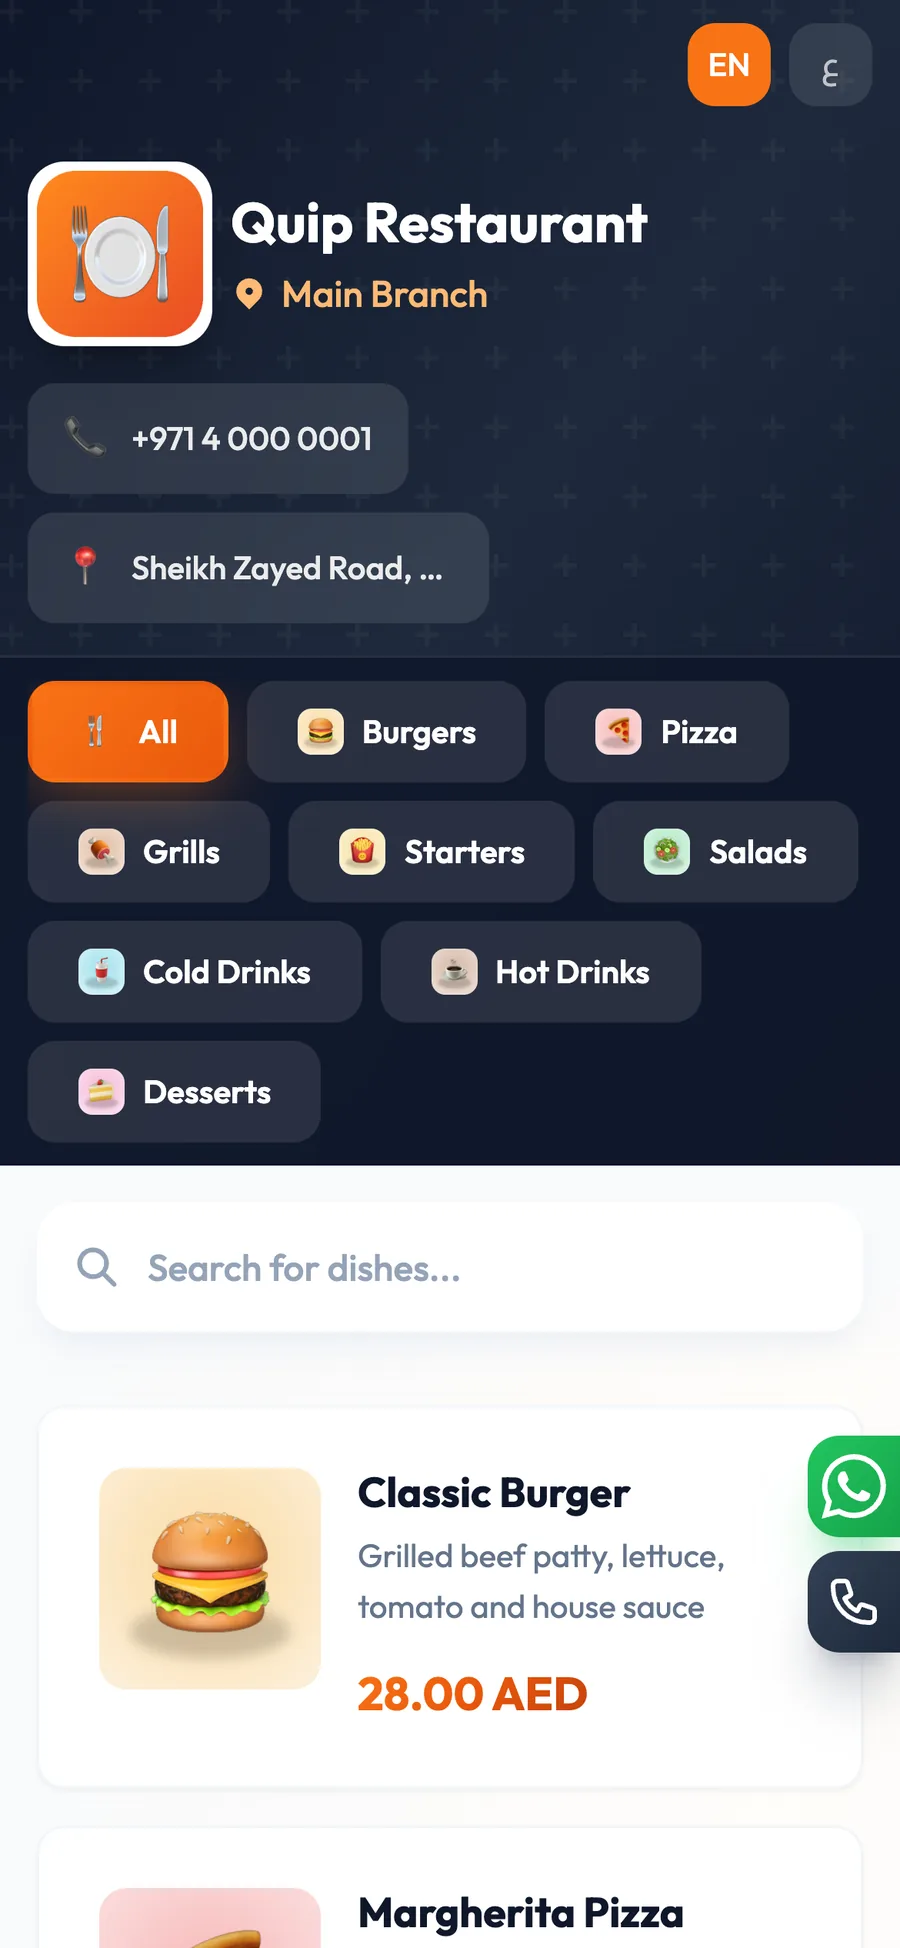
If you want to use QR ordering, set it up before the soft opening. A QR menu should match the real menu, the correct branch, and the correct table flow. Guests should be able to browse, order and call a waiter without confusing the team.
For table service, decide whether the waiter takes the order first or the guest orders from the table. If you use both, train staff on when each flow is appropriate. The goal is not to use every feature; it is to make the dining experience faster and clearer.
In a busy lunch period, a QR menu can reduce pressure on the front-of-house team, while waiter phones keep table service accurate. If you want a focused guide, read QR Code Menu and Table Ordering: A Practical Guide for Restaurants.
7. Run a real test service before opening day
A test service is one of the most valuable steps in a restaurant checklist. Do it with real dishes, real staff roles and real payment scenarios. Do not use a perfect, scripted demo only; you need a service that feels like the real rush.
Run at least one full cycle from the first order to the final closeout. Include dine-in, takeaway and any other order types you plan to offer. If something fails, fix it and repeat the test.
Test service checklist
- Open the POS and sign in with each staff role.
- Place a dine-in order and confirm it reaches the right kitchen screen or printer.
- Add notes, modifiers and item changes.
- Test split payment, mixed payment and cash change.
- Print a receipt and check the details.
- Void or refund one item and confirm the reason is required.
- Close the shift and review the cash count.
- Repeat with takeaway and QR order flows.
If the service runs well on a quiet morning, it will be much easier to handle a full dining room later.
8. How Quip POS helps you open a restaurant with less stress
Quip POS is built for restaurants and cafés that want one cloud system for the admin panel, POS screen and apps. You can use it in a web browser with no install, or on Windows and Mac desktop apps that keep selling and printing offline and sync once the connection returns. It also has iPhone, iPad and Android apps for managers, cashiers and waiters.
That matters during opening week because restaurant teams often move between the counter, floor and kitchen. Orders stay in sync across devices and branches, and the whole system works in 20 languages with full right-to-left support. Your product names, receipts and menus can use two content languages, such as Arabic and English.
For daily operations, Quip POS supports fast touch selling, held orders, split and mixed payments, discounts, cash shifts, refunds and permissions. Restaurants can use dine-in tables, takeaway, delivery and drive-up orders, a table map with zones, bill splitting, a kitchen display system, waiter app, recipes and a QR menu with table ordering.
You can also route items to the right kitchen printer, track each branch separately, and use the audit log for sensitive actions. If you are comparing setup options, visit features, check pricing, or try the ready-made restaurant demo at /demo.
9. Final pre-opening checklist for managers
Use this short list on the day before opening. It is the fastest way to catch missing details while you still have time to fix them.
- Menu items entered, priced and checked on the POS.
- Printer routing tested for receipt, kitchen and bar stations.
- Kitchen screen or printer showing the right order statuses.
- Roles, PINs and permissions created for every team member.
- Payment methods tested, including mixed payments and change.
- QR menu checked on a phone at the correct table and branch.
- Shift opening and closing process rehearsed with cash count.
- Offline behaviour tested in case the connection drops.
- One full test service completed and any issues fixed.
Before you open the doors, keep one simple rule in mind: if staff have to guess, the system is not ready yet. If they can complete a full order calmly from start to finish, you are ready to trade. For the team setup and opening help, use the free trial or the live demo and check local rules for anything legal or regulatory that applies to your business.
Frequently asked questions
What should I set up first before opening a restaurant?
Do I need a kitchen display system before opening day?
How do I prepare a QR menu for a new restaurant?
What payment methods should I accept on opening day?
How many staff roles do I need for a small restaurant?
Should I test the restaurant POS before the soft opening?
Talk to the Quip POS team
Tell us about your business and we will show you the right setup, help you add your products and connect your printers.
Related articles
 Restaurants & cafés
POS for Bakeries and Sweet Shops: A Practical Guide
A bakery POS should speed up the counter, manage variants, track recipe cost, hold pre-orders until pickup and record wastage. Here’s what to look for.
Restaurants & cafés
Table Management for Restaurants: Map, Move, Merge and Split Bills
Learn how to organise restaurant tables with zones, move and merge parties smoothly, and split the bill without slowing service. Practical tips for faster turnover and fewer mistakes.
 Restaurants & cafés
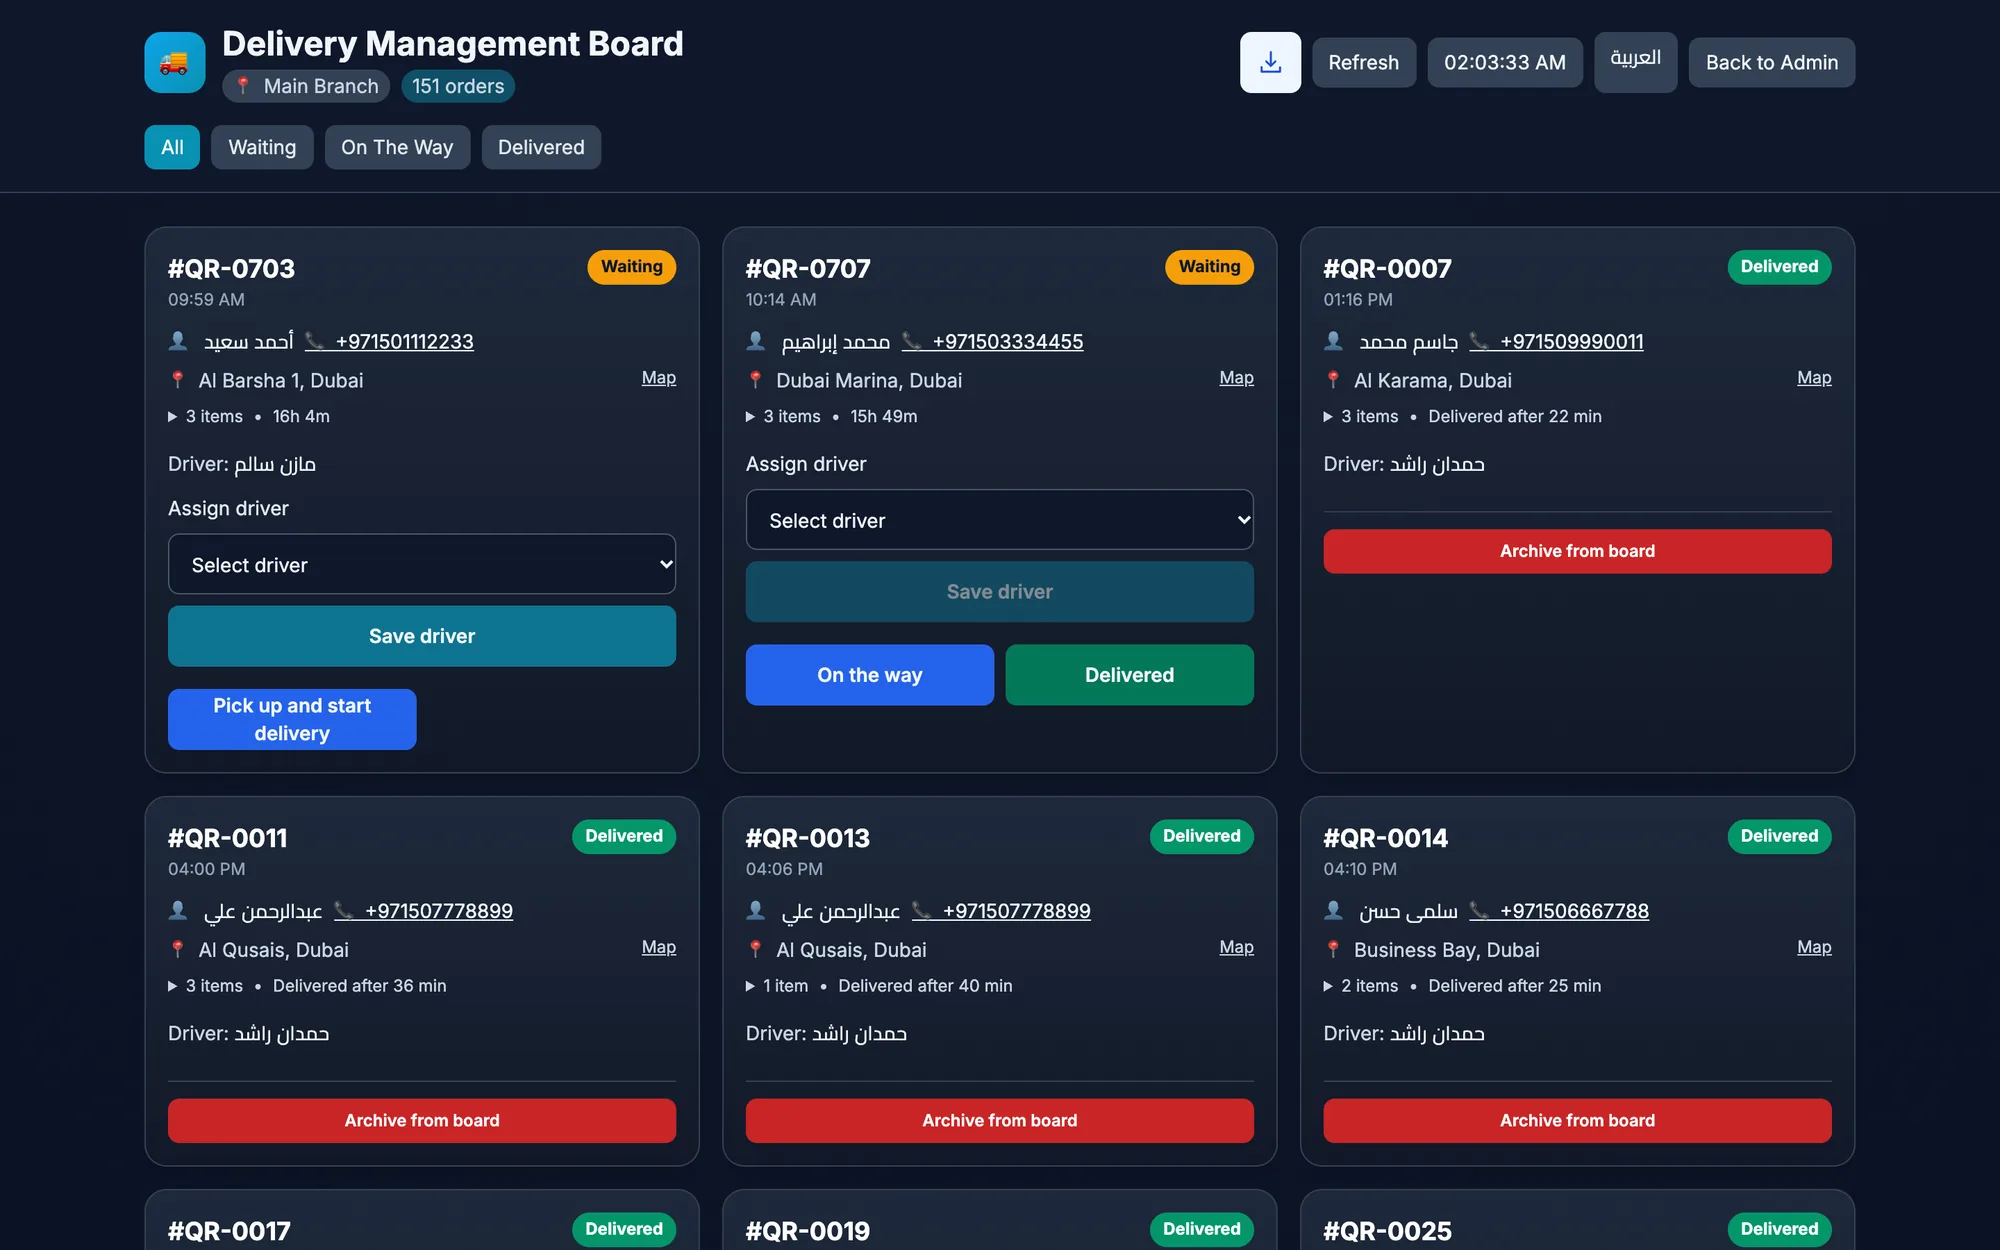
Delivery-Only Kitchen POS: How to Set Up a Dark Kitchen
A delivery-only kitchen POS keeps orders, prep, drivers, and channel reports in one flow. Learn how to set up a cloud kitchen or dark kitchen for speed and control.