




















POS Free Trial: How to Test a POS System Before You Buy
A day-by-day 14-day plan to test a POS system properly: products, printers, a test shift, reports, staff feedback and a scorecard for the final call.
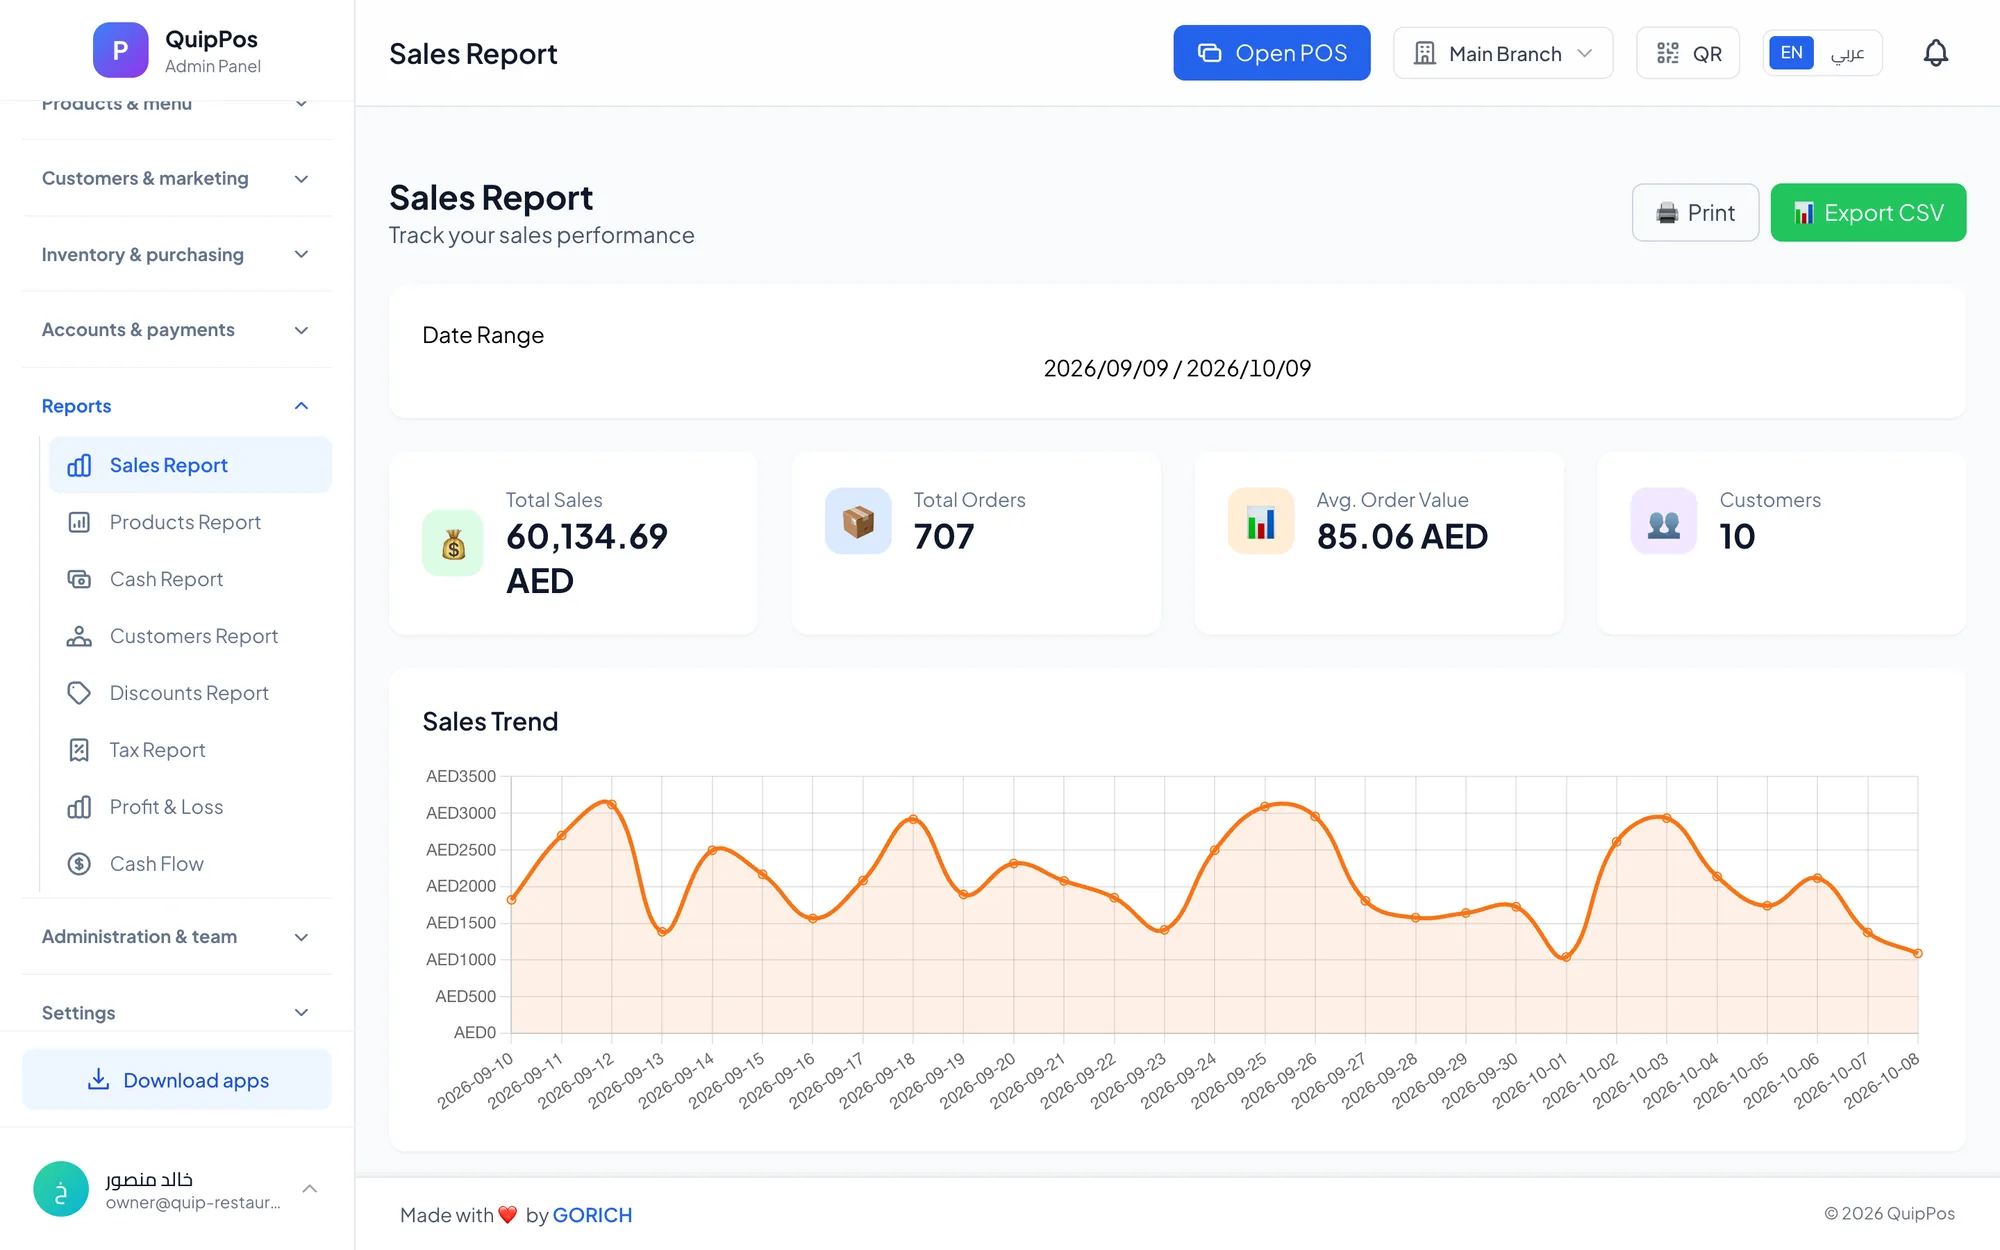
The best way to use a POS free trial is to treat it as a short project: load your real products, connect your printers, run a full test shift with your staff, then check the reports and score the POS system against criteria you wrote down before you started. Fourteen days is enough if you plan each step.
Many owners sign up, click around for twenty minutes and forget the trial until it expires. That tells you whether the screens look nice, not whether the system can survive a Friday lunch rush in a Dubai café or a busy Saturday in a Riyadh phone shop. A structured trial answers the real questions: is it fast at the counter, do receipts print correctly, can staff learn it, and do the end-of-day numbers make sense?
Below you will find a preparation checklist, a day-by-day plan, a test shift script and a scorecard for the final decision.
- Use a live demo to shortlist, then use the free trial to test with your own data.
- Prepare your product list, printer details and decision criteria before day one.
- Run at least one complete test shift: open, sell, refund, close and count.
- Involve the people who will use the system every day, not just the owner.
- Decide with a written scorecard, not a gut feeling on the last day.
Live demo or free trial: where should you start?
A POS demo and a free trial do different jobs. A demo shows you a ready-made company with products, orders and reports already filled in, so you can see in a few minutes how the system thinks. A free trial gives you your own account, where you test with your own menu, your own prices and your own devices.
Use the demo to shortlist. If you cannot find your way around a ready demo in fifteen minutes, an empty account will not feel easier. If you are still comparing options, our guide to choosing the best POS system lists the criteria worth checking first.
What to prepare before you start your POS free trial
The trial clock starts when you sign up, so do the groundwork first. One hour of preparation can save you half the trial.
- Your product list in a spreadsheet: names, prices, categories, barcodes, variants such as sizes or colours, and photos if you use them.
- Your hardware details: printer model and connection (network or USB), scanners, and the tablets, phones or computers you plan to use.
- Your 10 most common transactions: for example a table order with a split bill, a takeaway with a promo code, a retail return, a salon service with a commission or a laundry order collected two days later.
- The people who will test it: one cashier, one manager and, for restaurants, someone from the kitchen.
- Your decision criteria: five to eight points you will score at the end, written down now, before any sales pitch shapes your opinion.
- A quiet time slot: slower hours or a day off, so you can run the test shift without pressure.
The 14-day POS trial plan, day by day
This plan fits a single-branch business. If you run several branches, complete it in one branch first, then repeat days 9 and 10 in a second branch.
| Days | Focus | What to do | Done when |
|---|---|---|---|
| 1–2 | Setup | Company, branch, receipt logo, languages | A test receipt shows your name and logo |
| 3–4 | Products | Import or add items, categories, variants, prices | Your full catalogue is searchable |
| 5 | Hardware | Receipt and kitchen printers, scanner, devices | Every printer prints the right items |
| 6 | Team | Staff accounts, roles and PINs | Each person signs in with their own PIN |
| 7–8 | Test shift | Open, sell, refund, close and count | Expected and counted cash match |
| 9–10 | Real use | Quiet hours alongside your current system | Staff finish orders without help |
| 11–12 | Reports | Sales, products, discounts, cash, tax | You answer your top questions in minutes |
| 13 | Feedback | Structured staff questions | Every tester has scored the system |
| 14 | Decision | Scorecard, plans, support | A clear yes or no |
Days 1–4: setup and products
Start with the basics: business name, branch, currency, the receipt layout and the languages your staff and customers use. Check your local rules for what a receipt must show and confirm the system can display it. Then load your catalogue. Importing from Excel is the fastest route for a shop with hundreds of items; a café with 40 drinks can add them by hand in an afternoon. Get your best sellers right first; perfect the rest later.
Days 5–6: printers, devices and staff
Hardware is where many trials fail late, so test it early. Print a receipt, send a test order and confirm that drinks go to the bar printer and food to the kitchen. Scan a few barcodes, and set up any waiter phones or kitchen screen now. Our thermal printer setup guide covers network and USB connections step by step.
Then create accounts for your testers with the roles they will really have, and confirm a cashier cannot see what a manager sees.
Days 7–10: the test shift and real use
The test shift is the heart of the trial and has its own section below. After it, use the system for real during quiet hours, ideally alongside your current setup, so you can compare totals at the end of each day. When you are ready to move for good, follow our plan to switch POS systems without stopping sales. Days 11 to 14 are for reports, feedback and the decision, covered below.
How to run a test shift during your POS trial
A test shift shows how the system behaves from opening to closing. Run it with real staff, at a real counter, on your real printers.
- Open the shift with a starting cash amount, exactly as you would in the morning.
- Run your 10 common transactions from the preparation list, at normal speed.
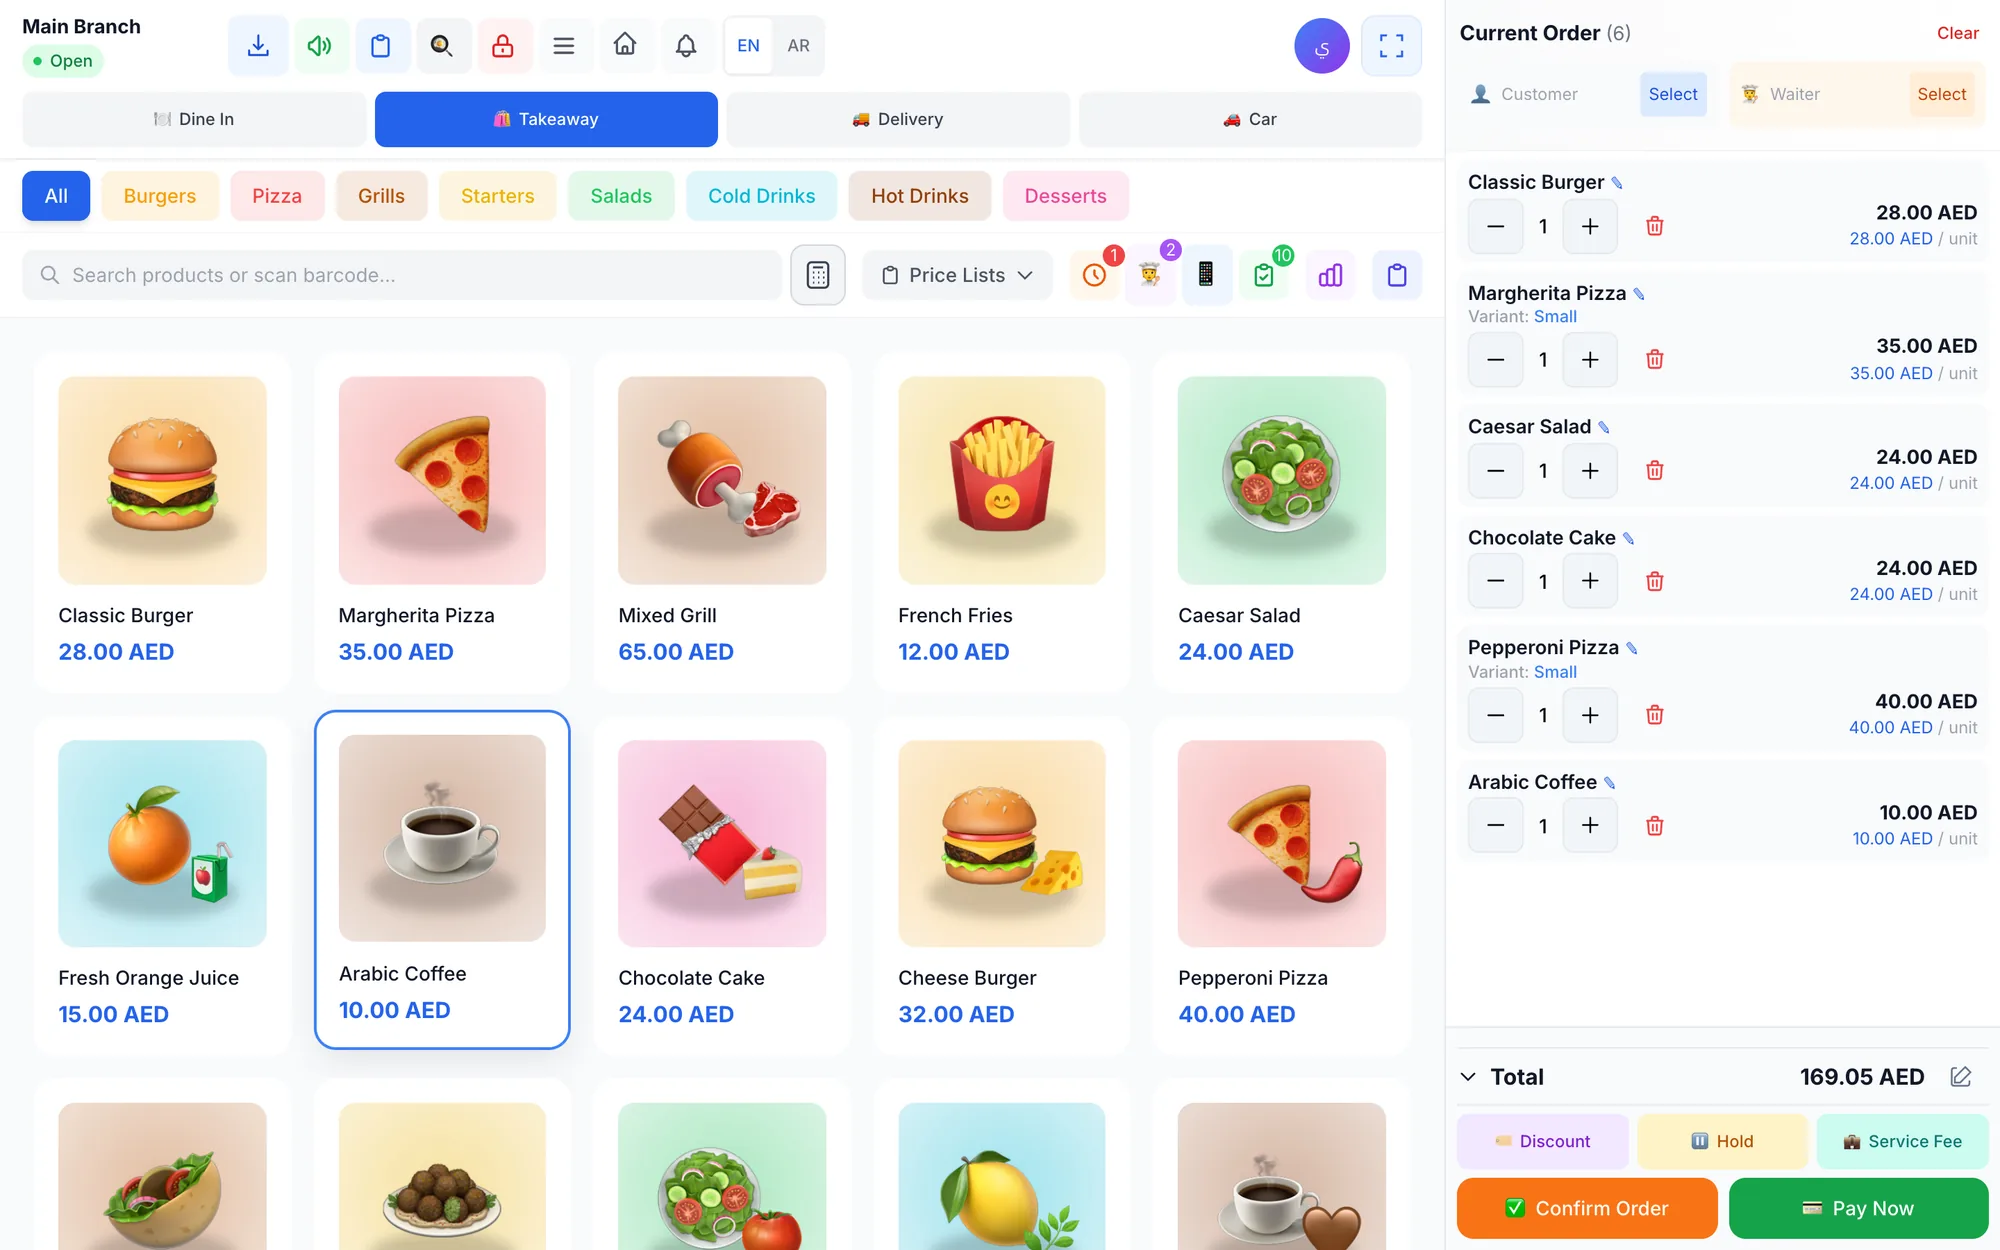
- Test payments: cash with change due, card, and one bill paid half in cash and half by card.
- Test the exceptions: a manual discount, a promo code, a void, a full refund and a partial refund. Check who is allowed to do each one.
- Leave one order unpaid or on hold, then collect it later in the shift.
- Time a busy moment: enter five orders back to back and note how long each one takes.
- Close the shift, count the cash and compare it with the expected amount.
Write down anything that goes wrong and ask the vendor about it. A mistake caught in a test shift is free; the same mistake during a lunch rush costs you customers.
Which reports should you check before you decide?
A POS system is only as useful as the numbers it gives back. After a few days of real use, check that you can answer these questions quickly:
- How much did we sell today, and how much is still unpaid?
- What were our best-selling products this week?
- How much did we give away in discounts, and through which promo codes?
- Does the cash report match what was counted at the end of the shift?
- How much tax did we collect over the period?
- Can I export the data to Excel for my accountant?
Compare one day of totals with your current records. If they do not reconcile, find out why before you commit.
How to get honest feedback from your staff
Owners judge a POS by its reports; cashiers judge it by how quickly they can serve the next customer. Both views matter, and the second is easy to miss.
Ask each tester the same five questions and have them score each from 1 to 5. How fast is it to find a product? How easy is it to take a payment? How clear is the screen during a rush? Did you need help, and with what? Would you choose this over what we use now?
Ask in each person's preferred language and let them answer privately. A waiter in Doha may not tell the owner that a screen is confusing, but will write it on a form.
How to score the trial and make your decision
Go back to the criteria you wrote before the trial and score each one. Weight what matters most for your type of business: speed for a café, barcodes and stock for a shop, appointments for a salon, order tracking for a laundry.
| Criterion | Weight | How to test it | Pass if |
|---|---|---|---|
| Speed at the counter | High | Five orders back to back | No order feels slow |
| Printing and hardware | High | Receipts and kitchen routing | Right items, right printer |
| Ease of learning | High | New staff on day 9 | Basic sales without help |
| Fit for your business | High | Your 10 transactions | All done without workarounds |
| Reports | Medium | Your top questions | Answered in minutes |
| Support | Medium | Ask two real questions | Useful answer the same day |
| Price and flexibility | Medium | Read the plan terms | Clear, in writing |
Red flags that should end the trial
- Receipts or kitchen tickets that print wrongly and nobody can fix.
- Totals that do not match your cash count at the end of a shift.
- Staff who still need help with basic sales after several days.
- Support that takes days to answer during the trial, when the vendor should try hardest.
- Prices or plan terms you cannot find in writing.
How the Quip POS free trial and live demo work
Quip POS is built to be tested this way. You can open the live demo instantly and explore a ready company for a restaurant, retail store, salon, laundry or repair centre, with products and orders already in place. When you are ready, the free trial lasts 14 days, needs no card and includes every feature.
- Setup: import products from Excel with images and prices, choose two content languages (for example Arabic and English) for product names and receipts, and print receipts with your logo.
- Hardware: connect ESC/POS thermal printers over the network or USB, with automatic printer discovery in the desktop app and routing of items to the right kitchen printer. Any USB or Bluetooth barcode scanner works.
- Devices: start in any web browser, then try the Windows or Mac desktop app, which keeps selling and printing offline, and the iPhone, iPad and Android apps from the download page.
- Test shift: open and close shifts with a cash count and an over/short report, take split and mixed payments, and try refunds and voids that require a reason and the right permission.
- Help: the team can help you add products, connect printers and train staff over WhatsApp or phone, and there are video tutorials for every screen and business type.
If you decide to continue, plans start from AED 29 per month, and yearly billing costs ten times the monthly price, so two months are free. You can compare what each plan includes on the pricing page.
Ready to test? Start with a plan, not a click
Write your criteria, prepare your product list and block an hour for a test shift this week. Then explore the demo for your business type and start your 14-day free trial without a card. By day 14 you will have a decision based on real orders, real printers and honest feedback from your team.
Frequently asked questions
Is there a free trial for POS systems?
How long should a POS free trial be?
What should I test during a POS trial?
Do I need a credit card to try Quip POS?
What is the difference between a POS demo and a free trial?
Can I test a POS system with my own printer and devices?
Talk to the Quip POS team
Tell us about your business and we will show you the right setup, help you add your products and connect your printers.
Related articles
 POS guides
Best POS System in 2026: How to Choose the Right Point of Sale
There is no single best POS system for everyone. Use these criteria, red flags and a weighted scoring checklist to find the point of sale software that fits your business.
 POS guides
What Is a POS System? A Complete Guide for Business Owners
A plain-language guide to POS systems: the hardware and software, what happens at checkout, how stock and reports work, cloud vs local, and who needs one.
POS guides
POS System in the UAE and Gulf: How to Choose the Right One
What businesses in Dubai, Abu Dhabi, Riyadh and Doha need from a POS system: bilingual receipts, staff languages, tax reports, AED pricing, WhatsApp and local support.